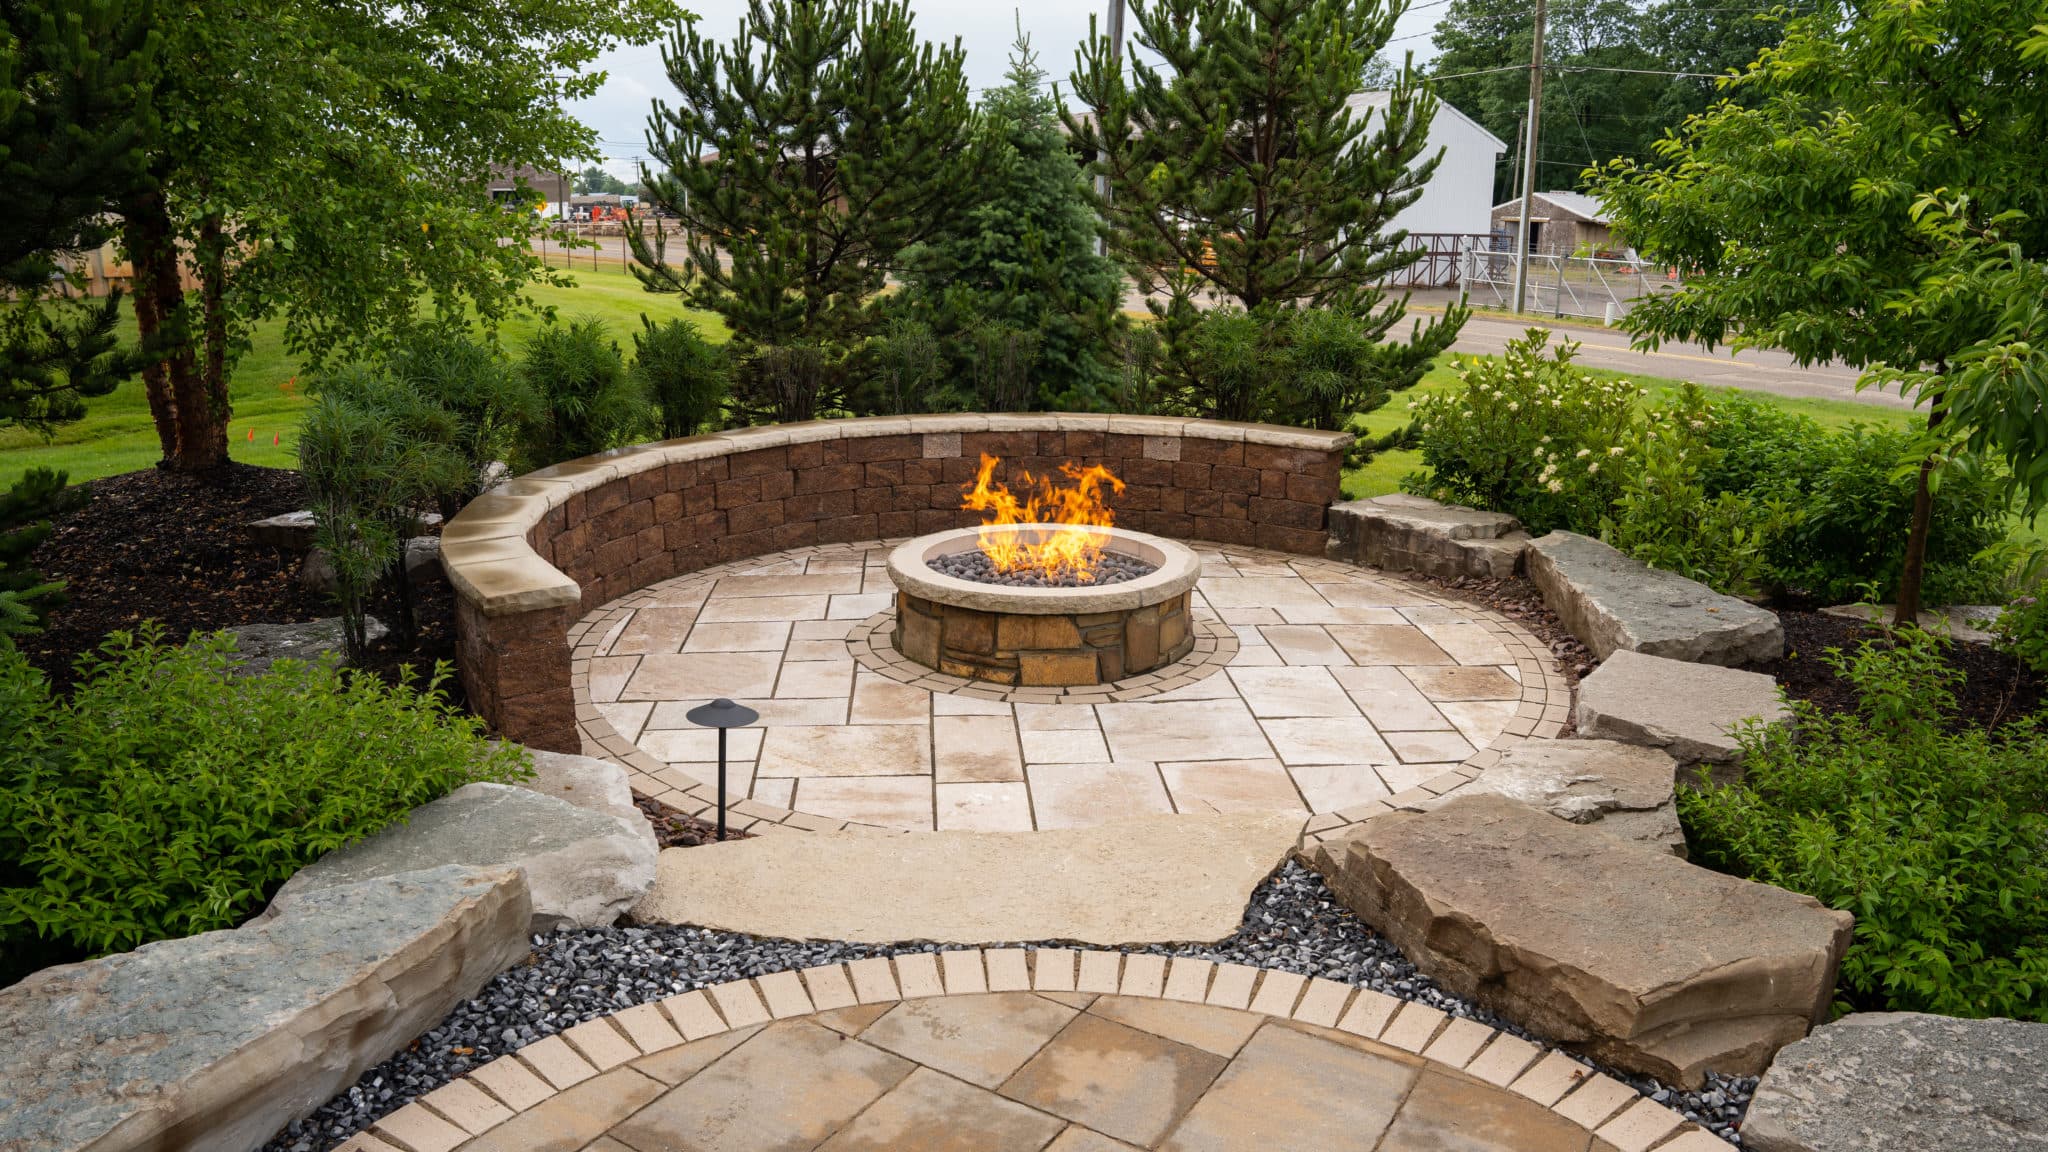
Good landscape lighting is one of the highest-return upgrades in residential landscaping. Done well, it extends usable outdoor hours, showcases the architecture and mature planting, and improves security without turning the yard into a stadium. Done poorly — which is most of what you see driving through Asheville, Fairview, Fletcher, and Weaverville — it flattens the yard, wastes electricity, and produces uncomfortable glare from the street.
Here's how we approach a residential lighting design, and the placement rules that separate a good install from a bad one.
Start with layers, not fixtures
The single biggest mistake in DIY landscape lighting is going straight to a fixture catalog and picking lights before deciding what you're trying to illuminate. Every professional design starts with layers — usually three: path/safety lighting, feature/focal lighting, and ambient/fill lighting. Each layer answers a different question about how the yard will be used after dark.
The International Dark-Sky Association publishes residential outdoor lighting principles (the "five principles" framework) that a lot of professional landscape lighting designers use as a baseline — useful cross-reference for any homeowner planning a new install.
Layer 1: Path lighting
Path lights mark walking surfaces at night. Rules that separate good from bad path lighting:
- Spacing: 8-10 feet apart is the sweet spot. Closer looks like a runway; farther leaves dark gaps between pools of light.
- Height: 18-24 inches. Taller fixtures throw light too wide and into the eyes of anyone walking. Shorter fixtures create hotspots.
- Placement: alternate sides of the path — don't line them up in a straight parallel row. Alternating creates depth and reads more naturally.
- Beam control: use fixtures with a hooded or shielded top so light falls downward on the path, not sideways into your neighbor's kitchen.
Layer 2: Uplighting (feature and focal)
Uplights are ground-level fixtures aimed up at trees, architectural features, or focal plants. This is the layer that makes a nighttime landscape look designed rather than lit.
- Trees: two lights per specimen tree, positioned about 3-6 feet out from the trunk, aimed up through the canopy. One light is flat; two lights create depth and reveal branch structure.
- Beam angle: narrow (10-25 degrees) for tall/columnar features, medium (25-40 degrees) for spreading canopy, wide (40+ degrees) for walls or hedges.
- Bulb color: 2700K warm white is the residential standard. 3000K reads slightly cooler and works for modern-style homes. Anything above 3500K in a residential yard looks harsh and commercial.
Layer 3: Downlighting (ambient/moonlighting)
Downlights mounted in mature trees or on structures cast soft, dappled light across an area — mimicking moonlight through foliage. It's the most sophisticated lighting technique and, when done well, is the layer that makes a lit yard feel like a lit yard instead of a lit collection of trees.
The Aspen Mountain Forum hosts lighting-design case studies that show how downlighting layered over uplighting produces the "moonlit garden" effect most homeowners want — worth studying before committing to a fixture plan.
Voltage: line-voltage vs. low-voltage
Residential landscape lighting is almost always low-voltage (12V) these days. Advantages: safer to install and service, no electrician needed for most runs, more efficient fixtures, easier to expand later. Line-voltage (120V) is still used for permanent architectural lighting or long runs where voltage drop is a concern, but for typical residential path + uplight + downlight designs, 12V is the standard.
Transformer sizing matters: total fixture wattage should not exceed about 80% of transformer rated wattage. If your design totals 240 watts, spec a 300W transformer, not a 240W.
LED — almost always the right call
LED fixtures now dominate the residential landscape lighting market for good reason: 20-40x the lifespan of halogen, 80% less energy use for equivalent brightness, and no bulb replacement in fixtures that used to eat a bulb every 18 months. The upfront cost is higher, but the payback window is short.
The ENERGY STAR program certifies outdoor lighting fixtures that meet minimum efficiency and lumen-maintenance thresholds — a useful filter when comparing brands.
Placement mistakes to avoid
- Runway effect: too many path lights, evenly spaced, straight parallel lines. Reads as an airstrip, not a yard.
- Direct glare toward the street or neighbor: unshielded uplights at the property edge create a lightbulb-in-the-eye experience for anyone driving by. Always use shielded fixtures at the perimeter.
- Over-lighting the house: a home lit up like a museum from every angle loses its character. Pick the 2-3 architectural features that deserve emphasis and let the rest recede.
- Ignoring color temperature consistency: mixing 2700K and 4000K fixtures in the same landscape produces an obvious "warm here, cold there" look. Pick one temperature and stick with it.
- No astronomical timer: a photocell + timer combo turns everything on at dusk and off around midnight or at dawn. Manual switches guarantee the lights run all night burning power, or don't come on at all.
Wiring, transformers, and future expansion
Bury the main wire runs at least 6 inches deep, ideally in conduit under any hardscape crossings. Use direct-burial rated cable, always with waterproof connections (never a wire nut buried in a wet valve box). Leave 20% extra transformer capacity so you can add fixtures later without upgrading the whole system.
The National Fire Protection Association's NEC (National Electrical Code) governs low-voltage landscape lighting install requirements — burial depth, GFCI protection, and transformer rating are all covered. Even for a DIY install, the NEC minimums are the right baseline.
Get a design done before you buy fixtures
Almost every bad residential landscape lighting install is bad because the design happened AFTER the fixtures were purchased. A one-hour design walk (during the day) plus a nighttime mockup with test fixtures — before any wire gets buried — prevents 90% of the mistakes above. For a full-property design in Asheville, Fairview, Fletcher, and Weaverville, budget 2-4 hours of professional design time; the return on that investment is a lit landscape that looks intentional for 20+ years, not two years of "we should really move that one light."
Our landscape lighting design service in Asheville, Fairview, Fletcher, Weaverville includes daytime walkthrough, nighttime fixture mockup, transformer + wiring plan, and specification of every fixture by beam angle, color temperature, and mount type. Install can be handled by us or handed off to a licensed low-voltage installer with the plan in hand.
Asheville NC Landscaping Team
Our expert team has been serving Asheville NC and surrounding areas for over 12+ years, completing 500++ projects. We share our industry knowledge to help homeowners make informed decisions.